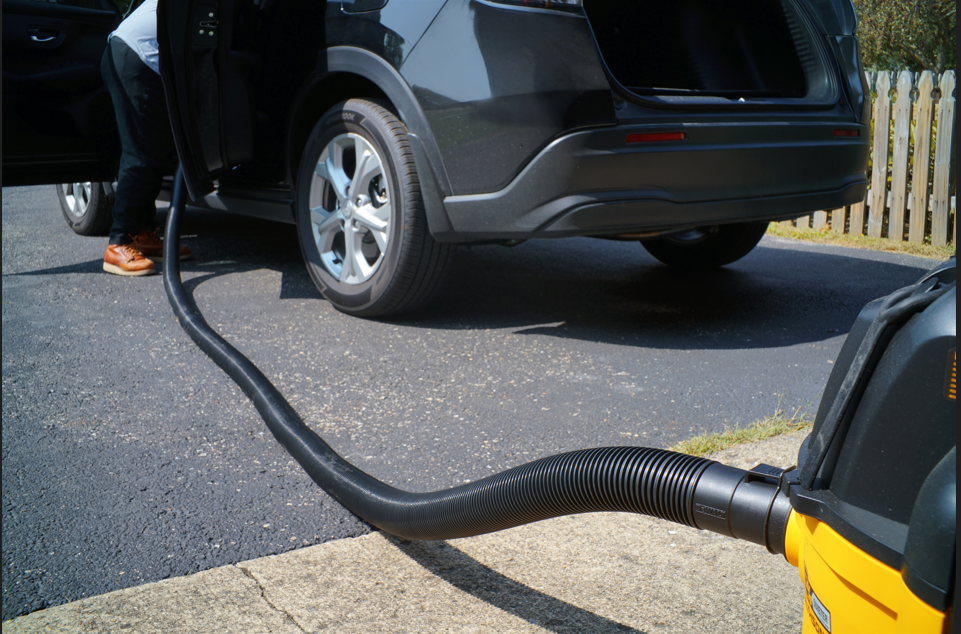
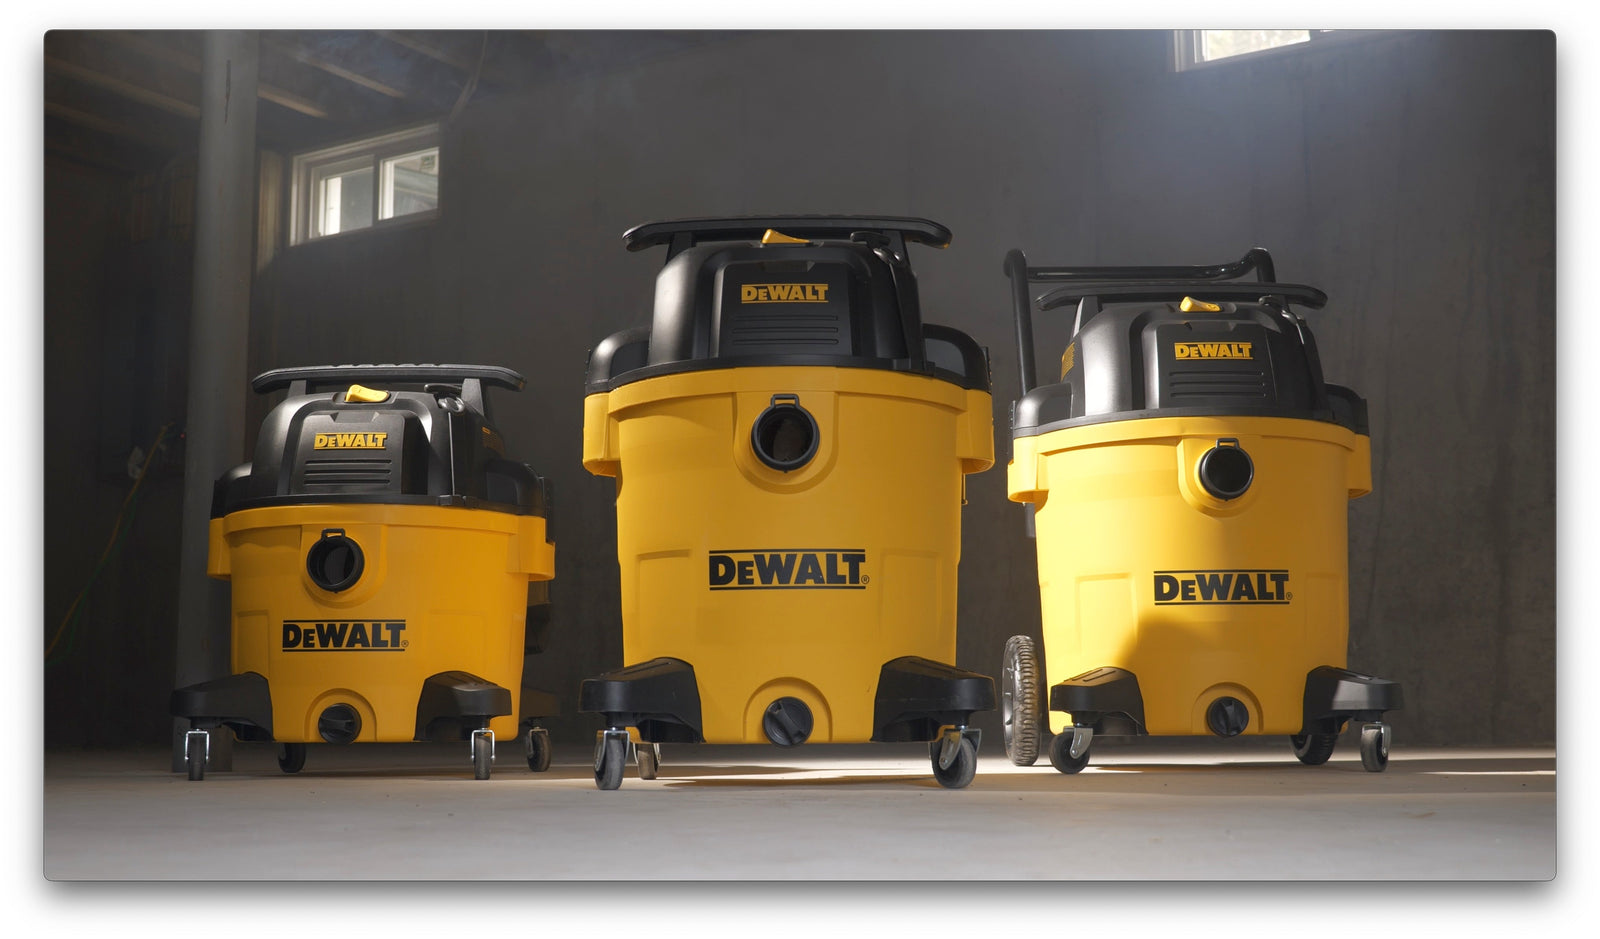
When it comes to car detailing, a wet/dry vacuum is one of the most versatile and powerful tools in your arsenal. Whether you're cleaning up crumbs from the floor mats or removing spills from the seats, a wet/dry vacuum can tackle both wet and dry messes, making it ideal for keeping your car spotless. In this guide, we’ll show you how to use your wet/dry vacuum for professional-level car detailing.
1. Choose the Right Attachments
Your wet/dry vacuum likely came with several attachments, and using the right one can make all the difference in getting a thorough clean. Here are the essential attachments for car detailing:
- Crevice Tool: Perfect for getting into tight spaces like between the seats and console or under the pedals.
- Dusting Brush: Ideal for cleaning delicate surfaces like the dashboard and console without scratching.
- Upholstery Tool: Great for cleaning seats and floor mats, especially if you have fabric upholstery.
Make sure to equip the appropriate attachment based on the surface you're cleaning for the best results.
2. Start with the Interior Vacuuming
Begin by removing all floor mats, trash, and personal items from your car. Use the crevice tool to vacuum hard-to-reach areas first, like between the seats, under the pedals, and around the center console. Follow this up with the dusting brush to clean the dashboard, air vents, and other surfaces that attract dust.
For the carpet and upholstery, switch to the upholstery tool. Vacuum the seats, making sure to lift any folds in the fabric to clean thoroughly. Don’t forget the floor mats, as these often collect the most dirt.
3. Tackle Wet Messes and Spills
If you’ve got liquid spills, your wet/dry vacuum really shines here. Switch to wet mode and use the appropriate attachment to extract any liquid from the seats or carpet. Wet/dry vacuums are designed to handle spills quickly and efficiently, and they’re especially useful for getting rid of stubborn stains before they set.
For extra cleaning power, lightly spray the stained area with a car-safe cleaning solution, let it sit for a minute or two, and then use your vacuum to remove the liquid along with the dirt.
4. Deep Clean the Carpets
To really give your car a detailed, professional clean, you can use the wet mode on your vacuum to deep-clean the carpets. After vacuuming the loose dirt and debris, spray a carpet cleaner on the carpet, and then use your wet/dry vacuum to extract the dirt and cleaning solution. This will leave your carpets looking like new.
5. Cleaning the Seats
Whether you have fabric or leather seats, your wet/dry vacuum can handle both. For fabric seats, use the upholstery tool with a cleaning solution designed for fabric to remove dirt and stains. For leather seats, you can use the vacuum in dry mode to remove debris, and then follow up with a leather cleaner and conditioner for a pristine finish.
6. Detailing the Hard-to-Reach Spots
Use the crevice tool to get into the tight spots like air vents, cup holders, and the spaces between the seat and console. If your vacuum has a blower function, you can also use it to blow out dust from hard-to-reach areas before vacuuming it up.
7. Final Touches
Once your interior is clean, don’t forget to wipe down surfaces with a microfiber cloth to remove any remaining dust or fingerprints. If your vacuum has a blower mode, use it to blow out any remaining dust or dirt from the nooks and crannies before finishing up.
Conclusion
With the right tools and a little know-how, your wet/dry vacuum can help you achieve professional-level car detailing results right at home. Whether you’re tackling spills, crumbs, or deep cleaning your upholstery, using a wet/dry vacuum ensures your car stays in top condition with minimal effort. Give it a try, and enjoy a fresh, clean ride every time!


